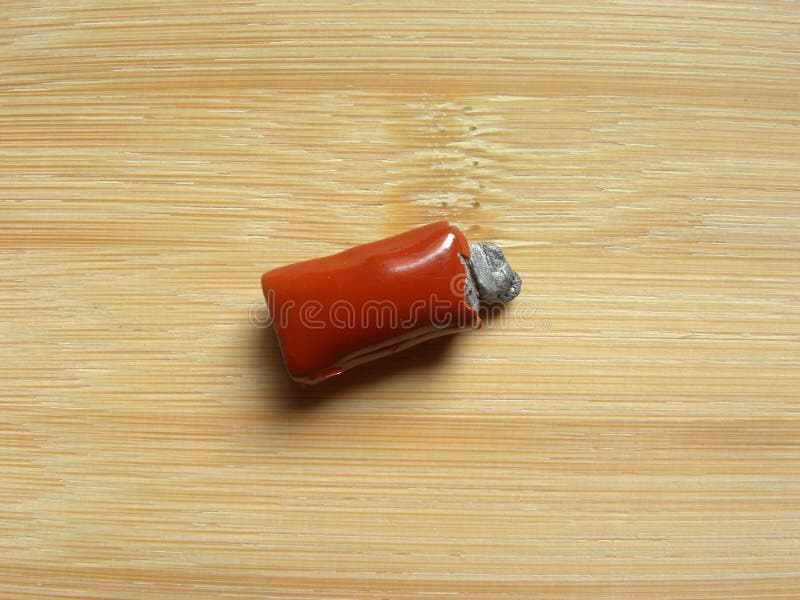
The detached side seems clean the Circuit Diagram The main fix of broken things seem to always be replacing the capacitors. The majority of nowadays broken electronic devices have exactly the same fault: age To fix a capacitor on a motherboard, you will typically need a soldering iron, desoldering pump or wick, solder wire, flux, and replacement capacitors. It is essential to have basic soldering skills and take necessary precautions such as wearing anti-static gloves before attempting any repairs. 4. Can I fix a capacitor on my motherboard without A busted capacitor can be obviously broken (leaking brownish fluid, corroded, or with the leads severed), but sometimes it's subtle. The top of a blown capacitor will be slightly bent outwards in a convex shape, rather than flat or slightly indented inwards like a working capacitor. See the photos above for examples.

Electrolytic capacitor replacement (recapping) is one of the most common repairs on today's electronics. It's also among the easiest electronic repairs most Capacitance: Choose a replacement capacitor with the same capacitance value as the faulty one especially if it was used in timing circuits. If the capacitor was used for voltage smoothing, larger capacitances will work as well. Voltage rating: Pick a capacitor with a voltage rating that matches or exceeds the original one. In most cases, a

Blown Capacitor:A Comprehensive Guide to Diagnosis and Replacement 2025 Circuit Diagram
1. By Look/Feel: Look for a bulged top on the capacitor. You may also feel that the vent has burst. One way to confirm suspicion of a bulged capacitor is to place a ruler on top of the capacitor with the edge touching the top. If the ruler will not stay flat, the capacitor is bulged. A blown capacitor is a capacitor that has failed, typically due to overvoltage, excessive heat, or aging. When it blows, it may leak, bulge, or even explode, causing electrical failure in the device. Identifying a blown capacitor involves visual inspection and testing with a multimeter. Replacing or repairing the damaged component is essential for restoring function. Clean with alcohol. Cut copper repair foil to size of original pad plus the 2-3mm of exposed trace--it will look like a rectangle with a chimney. Tin the repair foil and the 2-3mm, underside portion. Epoxy the foil in original place, but NOT the 3mm portion (clamp the whole piece securely). When cured, solder the capacitor positive side first.